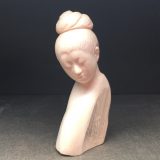
Komada Ryushi, who is my father and netsuke artist, happened to finish a face model that he had carved to a certain extent, so I filmed some parts of the processes towards finishing the piece. Since this work is a model of a face carving, the size of the face is about the same as that of okimono (figurines) rather than that of netsuke.
This piece is in mammoth tusk, which can be a little more challenging than ivory. The large size of the female face of this work is also another challenging aspect, while the size has made it easier for you to see details in the videos.
The video I’m showing in this post features the carving of eyebrows and hair on the head. Explanations below may help when watching the video.
Carving of eyebrows (0:00 – 7:48)
In the video, my father first sketched in the eyebrows with a pencil. To draw preliminary guides like that, it is more proper and traditional to use thin sumi ink (made using an inkstick and inkstone with a little more water than usual) when the material is tusk and horn.
An advantage of sumi ink is that it does not penetrate into tusks and horns, and once dried, it would not get rubbed off easily even if touched many times. A disadvantage is that it takes a bit of time and energy to prepare the ink, so my father uses a pencil when it does not matter even if a guide got rubbed off or when he wants to draw a guide quickly and easily. He uses whichever suits the situation.
Incidentally, he does not use ready-made sumi ink (in liquid form), because it may contain chemicals. When the material is wood, he uses pencil rather than sumi ink, as the ink would penetrate into wood.
My father used to carve eyebrows in relief and paint them with sumi ink and suchlike. It is a method traditionally practiced in ivory carving industry. It has a disadvantage in that the ink on the eyebrows can be worn off if rubbed, because the brows are slightly sticking out from the surface.
At some point my father realized that, the brows carved into the material and painted creates an illusion and looked as if they are raised rather than dented. Furthermore, these parts are lower than the surrounding surface, the ink does not easily get rubbed off. Ever since, he has used this method frequently.
That said, he would choose to carve brows in relief when they are in a place where they would unlikely be touched or rubbed, for instance, when the face is surrounded by something such as an arm. Again, he uses whichever method he thinks is the best in each case.
In this video you can see how he began working on brows and how he carves them until they take shape.
Carving of hair on the head (7:49 – 30:12)
After the brows were carved to a certain extent, my father moved on to adjusting the hairline (the edge of the hair on the head). Then he made grooves that represent the flow of hair using katagiri-bori technique (i.e., carving of a V-shaped groove that is tilted so that one side is vertical). These grooves are called kemichi, literally meaning “hair roads/paths”. He also added fine lines on the ridges of the hair. Carving such fine lines is known as kebori (lit. hair carving). In the video, he spoke (in Japanese) on the techniques and tools he was using as he carved.
The followings are carving tools he used and mentioned in the video.

From around 8:09: A scraper with a stainless-steel blade. This is a gift from the artist, Kanda Shusui, from Yamaguchi. (In the video, he is said to be in Kyushu island, but he is in Yamaguchi. We are sorry about that!).

From around 18:02: A scraper used in kebori (fine-line carving). It does not have to be this type in doing kebori, and my father uses various types of blades.

From around 18:11: Another tool in kebori. This blade has many small teeth like a saw, and it gives multiple fine lines in a single stroke.

As can be seen in this close-up image, there are five or six teeth in one millimeter.

From around 21:18: Scrapers my father has developed and named kime-no-kogatana (lit. defining knives). The blades of these are made so that only their tips cut. One of their purposes is to make a groove deeper and sharper.
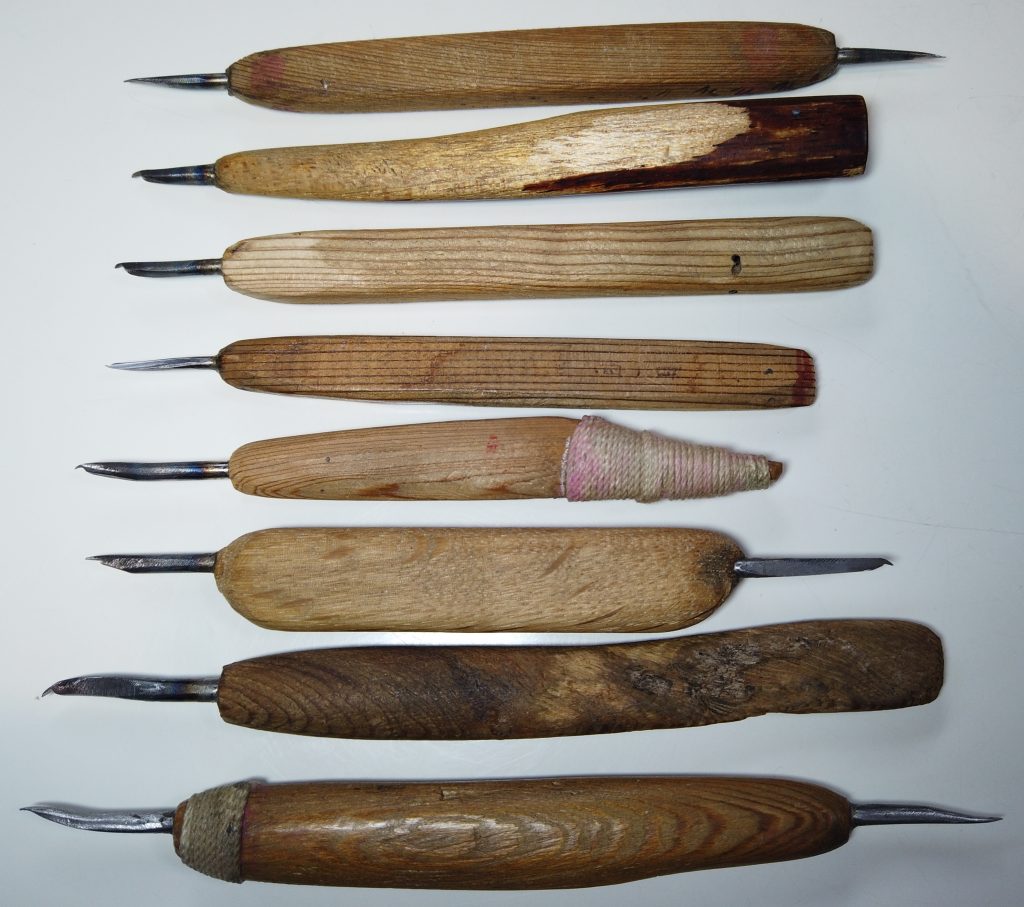
The kime-no-kogatana has many variations in size and shape.

From around 27:47: A scraper with a straight blade. This type can be used for kebori, and my father thinks that most of the carvers using hidari-ba have one like this.
Video, text, and photos by Komada Makiko